
Oil Filter Replacement — When and How to Do It Properly
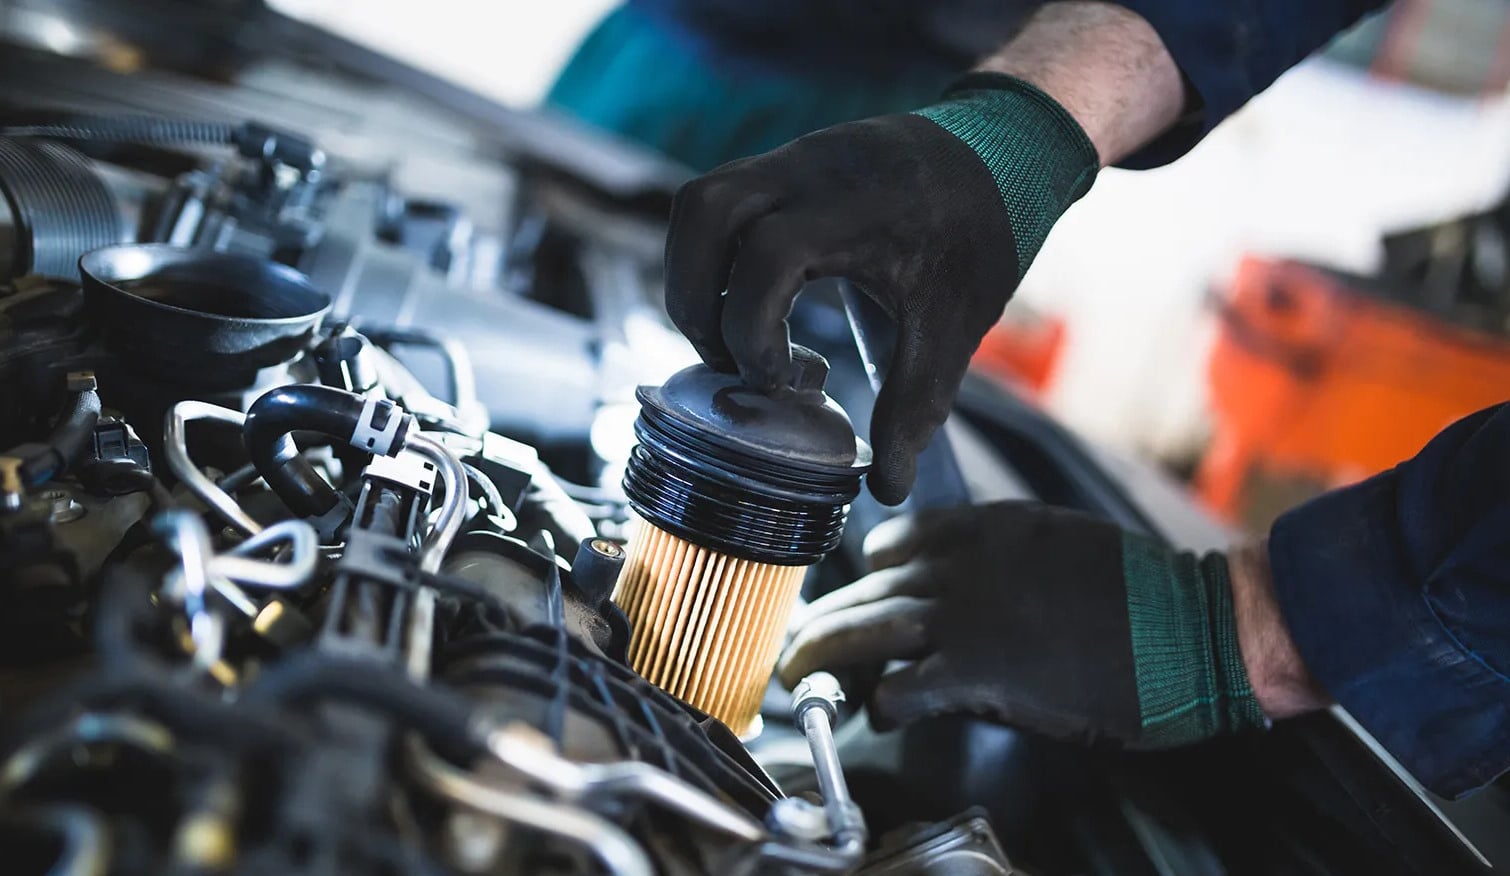
Table of Contents:
The oil filter is a consumable component that requires regular replacement. It cannot be restored or cleaned: once it reaches the end of its service life, it must be replaced. Below, we explain its function, when it should be replaced, and how to carry out the replacement step by step.
What Is the Function of an Oil Filter?
Engine oil circulates through the lubrication system: from the oil sump, it is drawn into the oil pump, then distributed through internal channels to engine components, and finally returns to the sump. During operation, the oil not only reduces friction and dissipates heat but also accumulates contaminants — combustion by-products, soot particles, dust, and microscopic metal debris.
For this reason, an oil filter is installed in the lubrication system, immediately after the oil pump. Its filtering element consists of a dense fibrous material folded into a pleated structure. It effectively traps contaminants and prevents them from reaching friction surfaces.
Over time, the filter element becomes clogged and loses its flow capacity. When system pressure increases — for example, during a cold start or when the filter is heavily clogged — the bypass valve opens. It allows oil to bypass the filter to ensure the engine is not deprived of lubrication.
However, in this mode, unfiltered oil containing abrasive particles reaches the bearings and cylinders, accelerating component wear. Therefore, timely replacement of the oil filter has a direct impact on engine life.
How Often Should an Oil Filter Be Replaced?
Under ideal conditions, the oil filter is replaced according to the vehicle manufacturer’s service schedule. On average, the interval ranges from 7,000 to 15,000 km, depending on the engine type, the oil used, and operating conditions.
The following symptoms may indicate filtration issues:
- unusual engine noises;
- increased oil or fuel consumption;
- engine overheating;
- reduced power and poor vehicle performance.
Operating a vehicle under demanding conditions — such as heavy traffic, dusty roads, frequent cold starts, or using low-quality fuel — accelerates oil contamination. In such cases, it is recommended to replace the filter more frequently than specified in the standard service schedule.
As a rule, engine oil and the filter are replaced at the same time — a new filter should always operate with fresh oil. The only exception is when a recently installed filter starts leaking due to a manufacturing defect. In this case, it can be replaced without draining the fresh oil, provided the removal is done carefully.
To avoid such issues, it is advisable to choose filters from reputable manufacturers.
What Is Needed for Replacement?
If you plan to replace the oil filter yourself, prepare the following in advance:
- a new oil filter suitable for your engine;
- engine oil that meets the vehicle manufacturer’s specifications;
- an oil filter wrench;
- a drain plug wrench;
- a container for used oil;
- a funnel;
- protective gloves;
- rags or paper towels.
Oil Filter Replacement Step by Step
First, determine the exact location of the oil filter. In most cases, it is located in the lower part of the engine, near the oil sump. In some models, the filter may be positioned at the top — in the engine bay, on the side of the cylinder block, closer to the radiator, or inside a separate housing.
Step 1. Vehicle Preparation
Ensure convenient access to the filter: use an inspection pit, place the vehicle on jack stands, or lift it with a hoist and secure it properly. The engine should be warm but not hot — running it for 5–10 minutes is enough to warm up the oil and reduce its viscosity.
Step 2. Draining Used Oil
Place a container under the drain plug, carefully unscrew it, and allow the oil to drain completely. Before reinstalling the plug, it is recommended to replace the sealing washer to reduce the risk of leaks.
Step 3. Removing the Old Filter
In most cases, the filter can be unscrewed by hand. If it is too tight, use a dedicated tool — a strap, chain, or cup-type wrench. As a last resort, you can pierce the filter housing with a screwdriver and use it as a lever, but this should be done very carefully to avoid damaging the threads or nearby components.
Step 4. Preparing the New Filter
Before installation, lubricate the sealing gasket with fresh engine oil. Be sure to check that the old gasket has not remained on the mounting surface — this is a common mistake that often leads to leaks.
Step 5. Installation and Tightening
Screw the new filter on by hand until the sealing gasket makes contact with the mounting surface, then tighten it by approximately ¾ of a turn. Using a wrench for final tightening is not recommended, as it may damage the seal or strip the threads.
Step 6. Refilling Oil and Final Check
Pour fresh oil through the filler neck to the required level, then start the engine for 30–60 seconds and switch it off. Wait about 5 minutes for the oil to settle in the sump, then check the level with the dipstick. If there are no leaks and the oil level is correct, the replacement has been carried out properly.
Find the right oil filter for your car in our catalog.
Oil Filter CatalogCommon Mistakes When Replacing an Oil Filter
To ensure a trouble-free replacement and avoid leaks or accelerated engine wear, it is important to avoid common mistakes:
- Overtightening. Excessive tightening makes the next removal more difficult and may damage the threads or the sealing gasket.
- Installing without lubricating the gasket. A dry seal does not seat properly and often leads to leaks.
- Incomplete draining of used oil. The more old oil is removed, the fewer contaminants remain in the system.
- Incorrect filter selection. The filter must match the vehicle make, model, and engine type — otherwise, filtration efficiency will be insufficient.
Special attention should also be paid to the choice of engine oil. Even a high-quality filter will not provide proper protection if the oil used does not meet the required specifications. Always follow the manufacturer’s approvals and select oil strictly according to engine requirements.
Can the Filter Be Replaced Without Changing the Oil?
In some cases, replacing the oil filter without draining the oil is acceptable. For example, if a newly installed filter turns out to be defective and starts leaking shortly after installation, it can be replaced without draining the fresh oil.
Another situation is when purchasing a used vehicle. After an oil change, fresh oil may begin to clean deposits from the engine, causing the filter to clog quickly. In such cases, an interim filter replacement is justified.
However, if there are clear signs of oil contamination, it is better not to limit the procedure and perform a full replacement — including both oil and filter.
In any case, it is advisable to visually assess the condition of the oil. A metallic sheen, emulsion (light-colored foam), or heavy contamination indicates the need for a complete oil change. The primary reference points should always be mileage and the service intervals specified by the manufacturer.
Summary
In most cases, the oil filter is replaced together with the engine oil as part of scheduled maintenance, taking into account the vehicle’s operating conditions. Timely and regular replacement has a direct impact on engine life and stable performance.
The procedure itself is straightforward and does not require significant expense. However, neglecting it can lead to accelerated component wear, serious malfunctions, and ultimately costly repairs.
FAQ — Frequently Asked Questions
Should the oil filter be replaced with every oil change?
Yes, in most cases the filter and oil are replaced at the same time. A new filter should always operate with fresh oil — using an old one reduces maintenance effectiveness and may shorten engine life.
How often should the oil filter be replaced?
On average, every 7,000–15,000 km, depending on the engine type, the oil used, and operating conditions. If the vehicle is frequently driven in heavy traffic, on dusty roads, or subjected to regular cold starts, the interval should be shortened.
Can the filter be replaced without draining the oil?
Yes, in certain cases — for example, if the filter is defective or becomes clogged shortly after a recent replacement. However, if the oil shows clear signs of contamination, a full replacement is recommended.
What happens if the filter is not replaced on time?
A clogged filter restricts oil circulation, may trigger the bypass valve, and allow unfiltered oil to enter the engine. This accelerates wear and can lead to costly repairs.
What mistakes should be avoided during replacement?
Common mistakes include overtightening the filter, installing it without lubricating the seal, incomplete oil drainage, and using an incorrect filter. Each of these can result in leaks and reduced filtration efficiency.